Cleaning your oven is one of those chores that’s often ignored – until burnt food smells start creeping into your meals. Whether you’re tackling baked-on grease, food spills, or just doing routine maintenance, this guide will walk you through everything you need to know to get your oven looking and smelling fresh again.
What you will need to clean the oven:
For Natural Cleaning Technique:
Baking soda
White vinegar
Spray bottle
Damp cloth or sponge
Rubber gloves
Scraper or plastic spatula (optional)
For Deep Cleaning (Optional):
A bucket of warm soapy water
Commercial oven cleaner (e.g., Easy-Off spray)
Old newspapers or paper towels
Sponge
Step-by-Step Instructions:
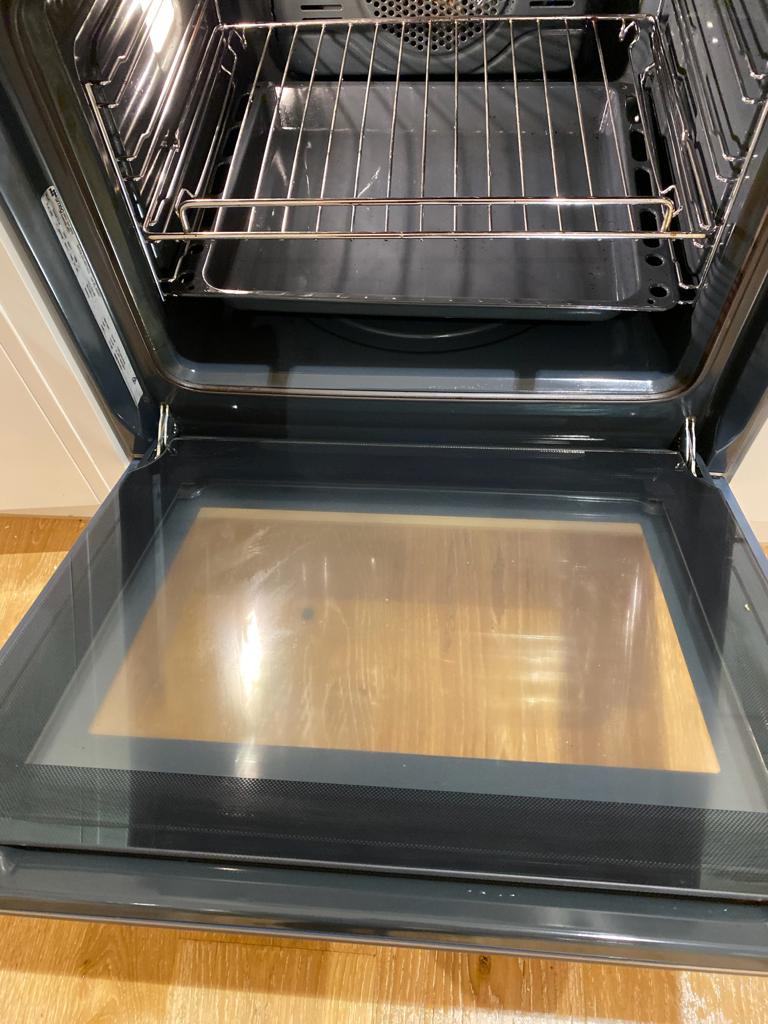
Step 1: Remove the oven trays and racks:
Remove all the oven racks and removable trays. You’ll clean these separately to make reaching all areas inside the oven easier.
Step 2: Prepare the baking soda and vinegar paste:
Mix 1/2 cup of baking soda with half a bottle of vinegar, mix them well, create a thick paste, and transfer it to a spray bottle. This paste breaks all grease, dirt and grime without needing any harsh chemicals.
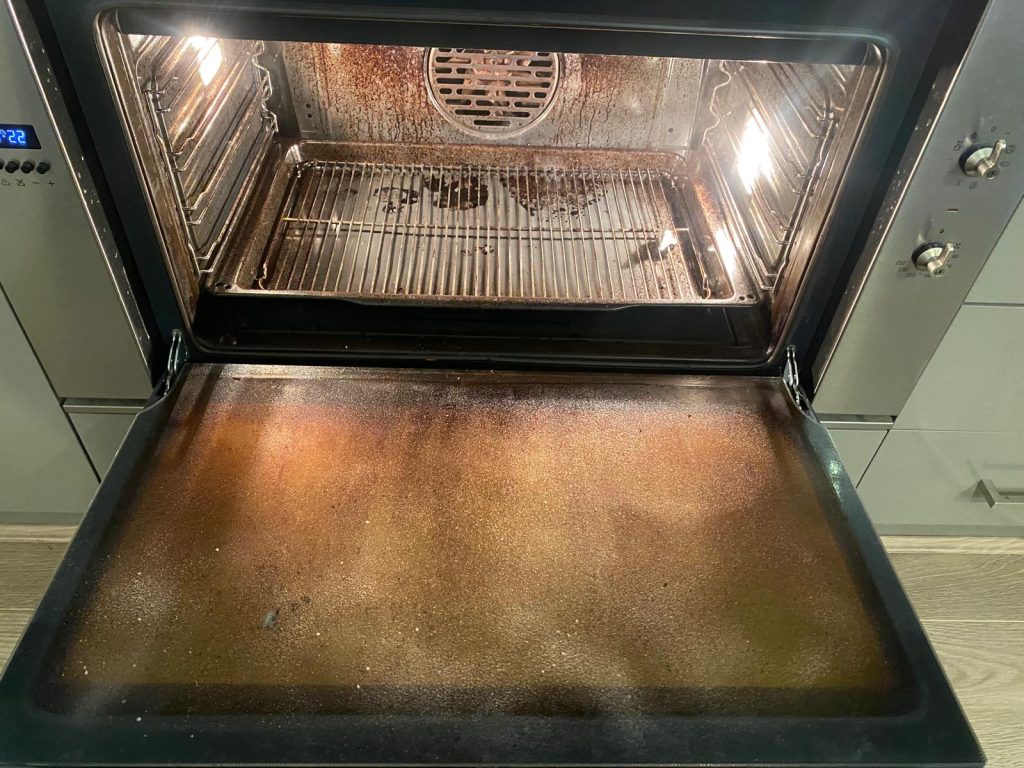
Step 3: Apply the paste
Put on rubber gloves and apply the paste to the oven trays, walls, sides, bottom, and top, including the trays and grills. Also, use the same paste on the oven door, including the glass.
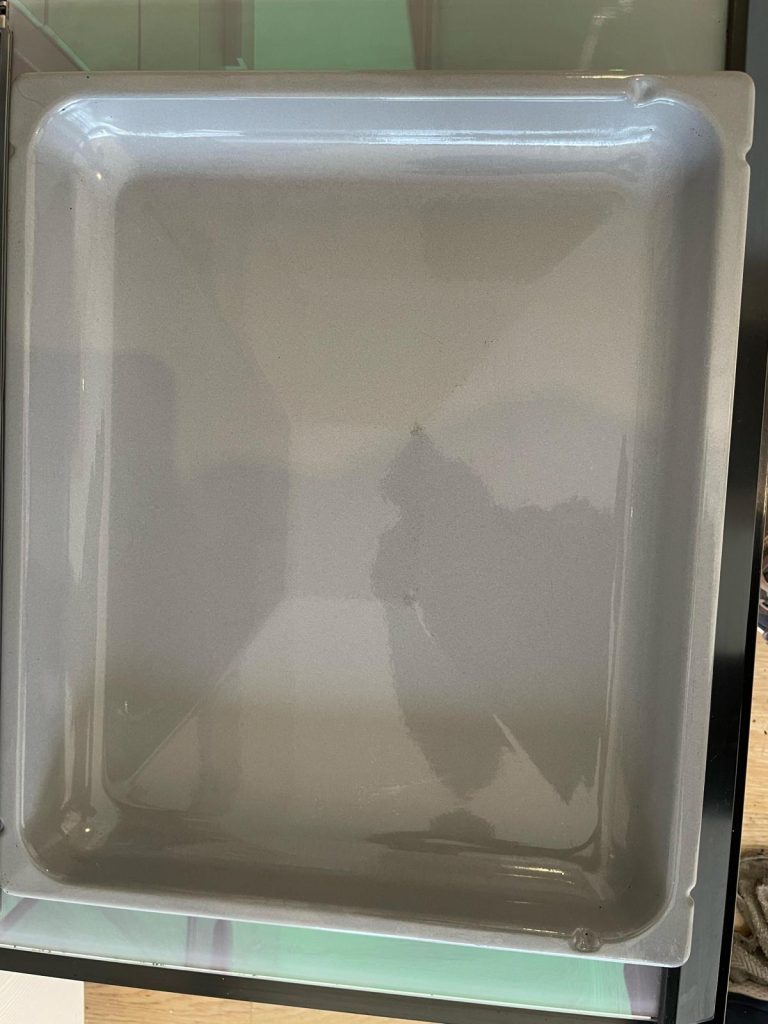
Let the paste sit for 3-4 hours and clean it with warm water and a sponge.
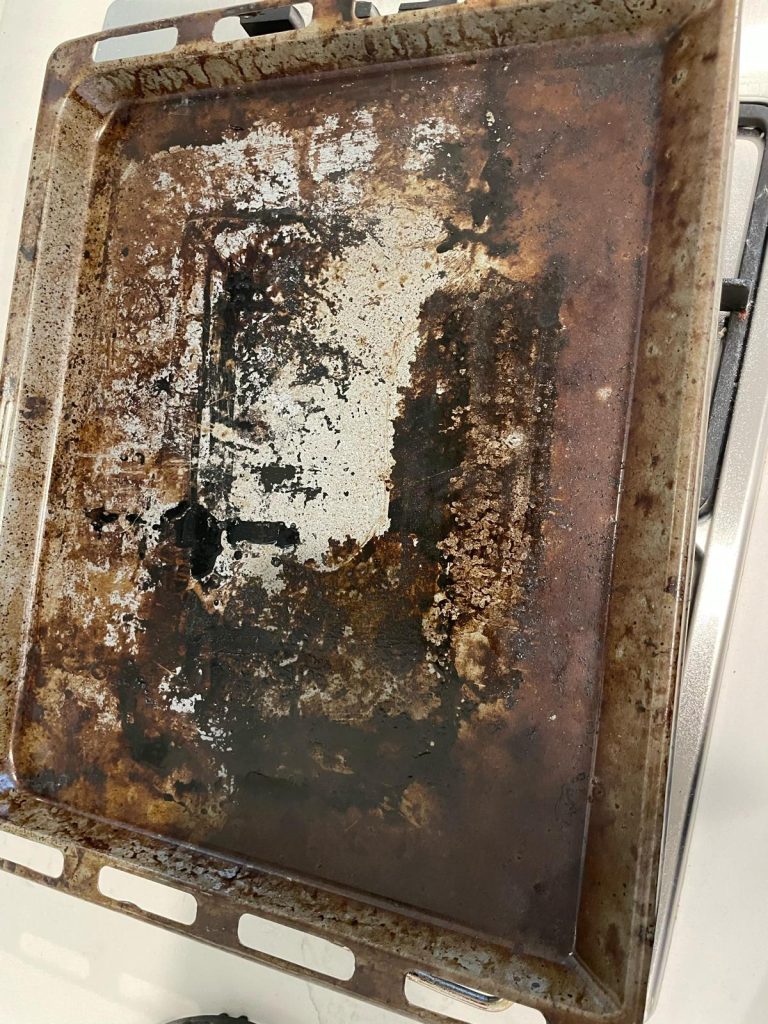
Step 4: Clean the oven racks:
While the paste is doing magic, clean the racks:
– Soak them in warm, soapy water (bathtub or large sink works really well to clean it deeply)
– Scrub with steel wool for tough stains.
– Rinse it properly and dry it for 1 hour.
Step 5: Spray with vinegar
– Put some white vinegar in a spray bottle and spritz any remaining baking soda residue. This will help to remove any remaining grime or tough stains from the oven.
Step 6: Cleaning of the oven glass/door:
For the glass door:
– Use the baking soda paste and vinegar, respray them, and wipe them down with clean clothes after 10-15 mins.
Step 7: Use commercial oven cleaner if required or hire a professional cleaning company
If your oven is extremely greasy or hasn’t been cleaned in years, a commercial oven cleaner can save you time:
Spray it properly with Easy-Off oven cleaner, leave it for 10 minutes, and wipe it down with new clothes.
If you are allergic to chemicals, use professional Michael’s end of lease cleaning service to organise thorough oven cleaning at affordable prices.
Important safety tips:
– Always unplug the oven before cleaning
– Never spray chemicals on the heating elements
How often should you clean the oven?
– Occasional use: Clean for 3-6 months
– Weekly use: Clean for 2-3 months
– Regular use: Clean once a month
Time and tools required to clean the oven (DIY):
| Task | Tools Needed | Time |
|---|---|---|
| Remove Racks | None | 5 min |
| Apply Baking Soda Paste | Baking soda, water | 15 min |
| Let Sit | None | 8–12 hrs |
| Wipe Down | Cloth, vinegar | 20–30 min |
| Clean Racks | Soapy water, scrubber | 30–60 min |
Final touch-up: Freshen it up
To keep your oven smelling fresh:
Use oven liners to catch future drips
Leave a bowl of baking soda inside when not in use
How to Remove Oven Door Glass and Clean Inside
How to Remove Oven Door Glass and Clean Inside
Important:
Check your oven manual first. Not all oven doors are designed to be taken apart by the user, nor can they be found on YouTube about the oven.
If your oven is under warranty, disassembling the door may void it.
Do this only if you’re confident and your oven supports it (most modern ovens do).
Tools You May Need:
- Screwdriver
- Microfiber cloths
- White vinegar or glass cleaner
- Optional: Baking soda paste for grease spots
Step-by-Step: How to Remove and Clean Between Oven Door Glass Panels
Step 1: Unplug the Oven
Safety first – make sure the oven is completely turned off and cool.
Step 2: Open the Door Fully
Open the door completely and check the screws or hooks at the bottom of the oven, and collect the necessary tools and equipment.
Step 3: Remove the Screws or open the hook from the bottom
Remove screws with a screwdriver, or if there is a hook, then unclick the hook and remove the oven door from the oven.
Step 4: Carefully Separate the Door Panels
Hold it tight when you remove door panel and ensure you have safety hand with you to transfer the door to the safe place.
Step 5: Clean the Inner Glass
Clean the inner glass with glass cleaner and clothes.
Once opened, you’ll likely see a line of grime, grease, or dust inside.
Use cotton swabs to get into the corners or along the edge lines.
Use a vinegar + water solution or glass cleaner.
For stubborn spots, use a baking soda paste (let it sit 10–15 minutes, then wipe).
Wipe with a microfiber cloth or paper towel.
Step 6: Reassemble the Door
Use the screwdriver and take help to put in the same place and click the hook inside of the glass. Ensure it is fitted correctly.
Pro Tips:
- Always work on a soft surface (e.g., lay a big towel on the floor or table) to avoid scratching the glass.
- Avoid using abrasive pads or metal scrapers – these can damage the glass or coating.
- If you’re uncomfortable doing this, consider hiring a professional oven cleaning service — many specialise in deep oven glass cleaning.